 I worked for many years at a spa with wonderful people. There were many who were very into natural products and DIY options and truthfully, I was often intimidated by how beautiful and perfect the products were. They made all sorts of things like skin balms, body scrubs, bath bombs, and soap.
I was so interested in the beautiful body products they made that I added it to my master bucket list.
Although I’m certain that my first go at making my own soap bars would never compare to theirs, I want to share with you some easy hacks that I discovered and the beautiful products I was able to make and gift to friends.
There area few methods for making soap.
The one that I used, and the easiest of the four methods, is called Melt & Pour.
I chose the Melt & Pour method for several reasons
- It’s the easiest! If you’re a beginner like me, this might be the best way to get started for you!
- It’s a more family-friendly project. If your kids can cook, they can do this!
What is the Melt & Pour Method?
Exactly what it sounds like! On sites like Amazon, you can purchase pre-made soap bases. They often come pre-scored and are not too expensive (about $15 for 2lbs of soap). You can find all sorts of variations such as goat’s milk, glycerine, shea butter, coconut milk, etc. Once you pick your base out, you can cut it into workable chunks and then melt it down, add your own fragrances, dyes, and add-ins. Then, you pour into a silicone mold and let it set. Tada! A custom bar of soap!
Here are the supplies I used!
- A flexible mold for your soap – There are tons of styles! Go nuts!
- Soap Base – Pick a base that sounds luxurious to you!
- A saucepan and a Mason Jar
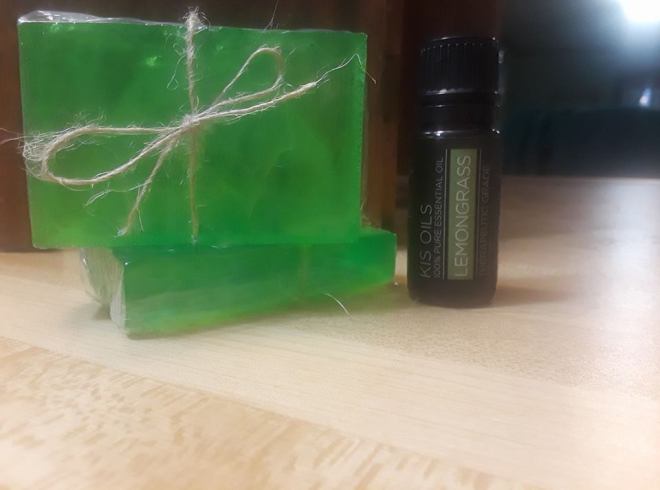
- Essential oils – My cabinet is full (Spa Life!) but my favorites are Lavender, Lemongrass, and Basil!
- Soap Dye – Make it beautiful!
- Packaging ribbons and plastic wrap
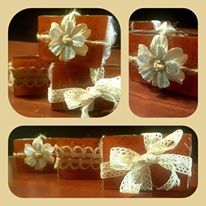
When I made my soap, I cut several chunks of soap cubes out of my soap base (I started with an inexpensive Glycerine base) and filled a large mason jar. I filled a saucepan with water and sat the mason jar in the water and gently melted the soap. Once it was liquid, I added several drops of essential oils and dyes and stirred these into the soap base. Then I poured into my molds and let sit for about 5 or 6 hours until completely cooled and firm. You’ll want to gently remove from the mold and wrap in plastic wrap (TIGHTLY! – some people have found success with using a hair dryer to create a shrink wrap effect but I haven’t tried it). Finally, add some flair and decorate your soap with ribbons, stickers, or labels.
That’s it, folks!
This was a super easy experience and I had a lot of fun with it! I can’t wait to try out the other “from scratch” methods as I gain confidence through these trials!
Please let me know if you have any questions about my experience! And post down in the comments if you have advice for using a cold process method! I’m a little intimidated by the process but would love to know more!
Until the next adventure,
-Brandi Tessner
